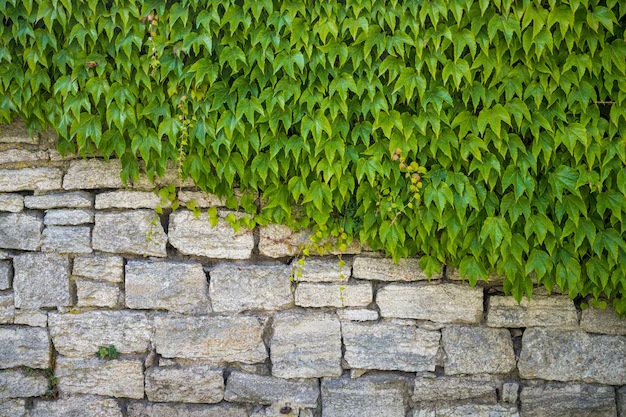
Construction is always a test of nerves (and your wallet). Noise, dust, constant approvals… Finally, the moment of peace arrives. The crew packs up their tools, the dust settles, and there it is — your new fence.
At that moment, it’s tempting to breathe out, smile, shake hands with the workers, and sign the paperwork quickly. But stop! The euphoria of completion is your biggest enemy. Right now, when you’re relaxed and satisfied, you risk missing defects that could cost you thousands later.
Checking the work is not embarrassing — it’s your legal right. Acceptance of the project is your only guarantee against poor workmanship. To help, we prepared a 6-point checklist to keep emotions aside and inspect the work like a professional.
1. Inspect the surface: look for scratches
First, carefully examine every meter of the fence. Installation is a rough process — metal can be scratched during unloading, hit by tools, or rubbed against concrete.
What to check: deep scratches exposing metal, paint chips.
Why it matters: any damage to the protective layer is an entry point for corrosion. Rust can appear after the first rain.
Solution: minor scratches must be retouched by the installers with a matching spray or touch-up paint. Serious damage may require replacing the section.
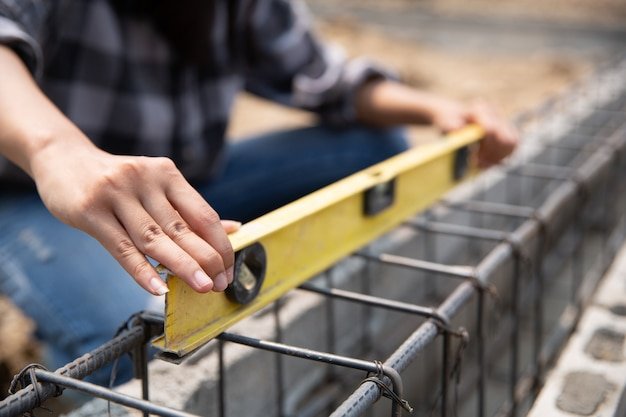
2. Geometry: the line should be straight
Step back and look along the fence. The top of all sections should form a perfectly straight line (or a smooth stepped line if the plot is on a slope). The fence should not sway like a snake.
Use a level on several posts — they must be perfectly vertical. Even a slight deviation is a serious mistake that can eventually warp gates and pedestrian doors.
3. Strength test: shake it
Don’t be afraid to apply some force. Grab a support post and shake it. A properly concreted post should not move.
If you feel wobble or the ground shifts, this indicates a defect — either insufficient concrete or it hasn’t fully set. Such a fence could collapse in strong wind.
4. Gate and pedestrian door: gravity test
These are the most movable and complex parts. Two simple tests:
-
Gaps: check spacing between wings and posts. The gap should be equal at top and bottom. If it’s wedge-shaped, the posts are crooked.
-
Self-movement: open the gate to ~45° and let go. The wing should stay put. If it swings closed or open on its own, the hinges were not installed level.
Also test the lock — the key should turn smoothly without force. You shouldn’t have to push the door with your shoulder to engage the latch.
5. Fasteners and small details
Check the following:
-
Self-tapping screws: all must be evenly fastened.
-
Caps: all posts should have plastic or metal caps. Without them, rainwater enters, freezes in winter, and can crack the metal from inside.
6. Hidden hazards: metal shavings and concrete
Even experienced supervisors often miss this point.
-
Drilling metal produces tiny shavings. If not brushed away immediately, moisture can cause rust spots (“fox tails”) on the new fence.
-
Check for concrete splashes on posts. Once dry, concrete is very hard to remove without scratching paint. The fence must be handed over clean.
Don’t be afraid to demand quality
If you find defects, do not sign the acceptance certificate or pay the remaining balance. This is your leverage.
Calmly point out the mistakes to the foreman. Professionals will correct them.
Finally, check that you received the full set of keys (usually 3–5 per lock).
Remember: you’re paying for a finished, high-quality product that should last decades, not require repairs after a month.
Want to learn more about construction?
Renovation and landscaping are full of hidden pitfalls. We help homeowners navigate technical nuances and avoid being misled.
Subscribe to our blog to keep your construction projects smooth and free of unpleasant surprises.